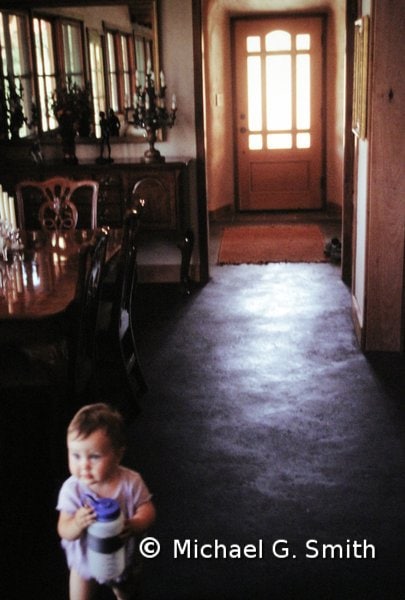
Earthen floors feel softer underfoot than concrete or tile. This one was installed by Colin Gillespie in his family home. Pole Craft Solutions
Unlike the common stereotype of a dirt floor, well-built earthen floors are durable and very beautiful. When sealed with linseed oil, they hold up well to spills, mopping, and normal foot traffic. They are the perfect choice for many passive solar homes since their color and density are ideal for absorbing and storing winter sunshine. They are also great for summer cooling. On a hot day, lying on your cool earthen floor is second only in comfort to a refreshing swim.
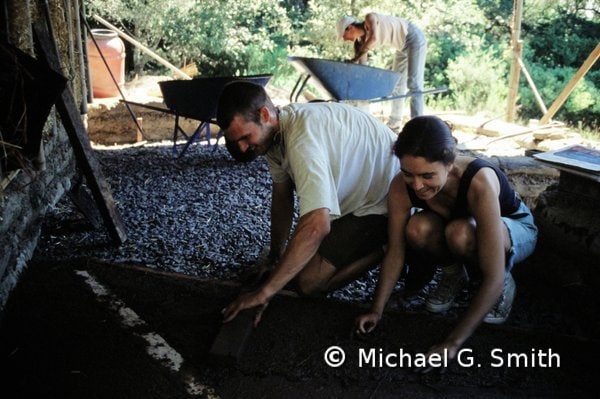
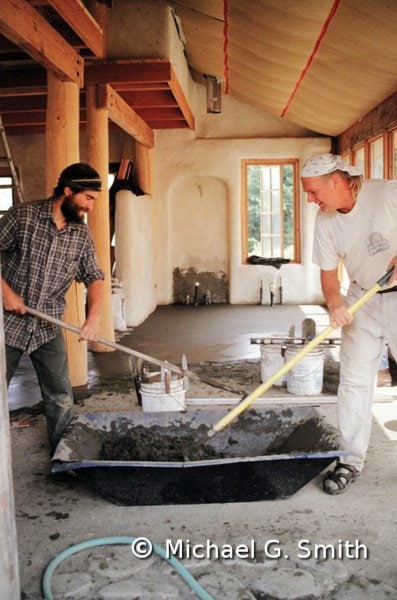
I install my earthen floors in several layers. The first step is a drainage layer of round, coarse gravel 4” to 6” thick. This prevents moisture wicking up from the subsoil and into the earth layer above, and also allows spilled liquids to drain away. After that, I usually lay down two base layers of mud mix, each about 2” thick. The mixture is made of soaked clay soil, sand, gravel, and straw. Each layer is leveled carefully with screed boards, but not trowelled smooth. Alternatively, I sometimes install a 4”-6” thick layer of compacted road base in place of the poured base layers.

The first base layer is poured and leveled over 6″ of drain rock.
The finish coat of an earthen floor is a very smooth mix the consistency of cake batter, made up of screened clay slip, sifted sand, and fine fiber such as chopped straw or horse manure. It is applied only after the base layer is completely dry, and is polished smooth with a steel float. When bone dry, the floor is sealed with four or more coats of oil, and then sometimes waxed. For more complete instructions on how to install your own earthen floor, see my book “The Hand-Sculpted House” (Chelsea Green, 2002).

